

Been a long time since we updated the blog – time has really flown. Always good to look back though and makes you realise how much has actually been achieved in the meantime.
Things that I’ve done for the first time since the last post:
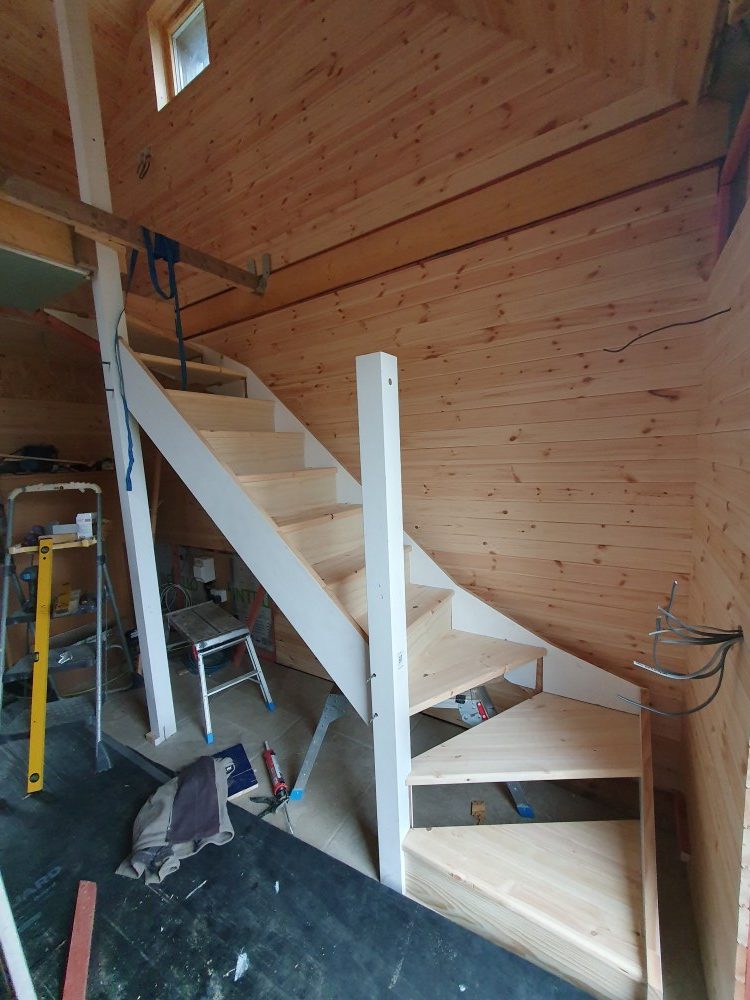
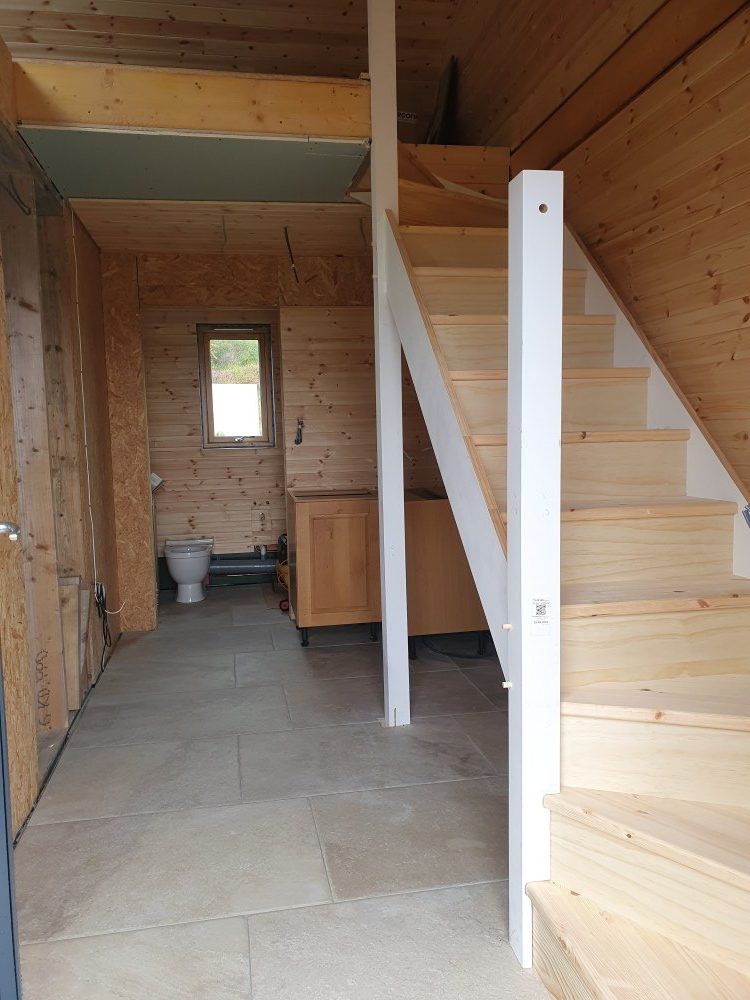
- installed a staircase and balustrade – having had expert craftsman, Jack, to build our beautiful oak and glass staircase in the house, for the garage we went for an off-the-shelf, as cheap as possible solution from Stairbox. Whilst it’s of course a totally different proposition, actually Stairbox make a really good product: their online stair planner software is really good, customer service were really helpful and easy to get hold of, and the stairs themselves were delivered direct to door two weeks after ordering, at precisely the time and date they gave us. The main straight run of the stairs was (fortunately) pre-constructed, but we had to put together the 3-step ‘winders’ at the top and bottom of the stairs, slot in the newell posts and then fix securely in place. It took a fair amount of time just standing puzzling about dimensions, fixing points and how it all worked. We did this in August, when fortunately Steve was on site to help and once we’d worked out the winders, there was then the question of how we were going to lift the main staircase run into place (especially as by the time we were doing this, Steve and I had already had a couple of weeks of graft and both of our backs were slightly creaking). Army logistic stills came to the fore though, with a great pully system put in place, and up the stairs went. By then we really were appreciative, and slightly in awe, of Jack’s craftsmanship: our stairs are structurally extremely sound, but all the workings will be hidden, and even on the visible parts, we will be able to fill and paint over any imperfections. For our house oak stairs, there is absolutely nowhere to hide. My carpentry skills are – and will remain – way off the level needed to achieve anything like that!
The balustrade and handrail went up on the next visit – after a lot of online searching and Youtube videos watched about the various different ways to fix newel posts. So many different ways people do it, and as usual lots of different opinions, but turns out the best way to fix is entirely dependent on the very specific situation and fixing points available. As with so many of the jobs that I’ve done, I was incredibly slow but it all turned out ok. Just the finishing that now needs to be done, but that will wait until all the rest of the ‘construction’ work has been finished in the top room.


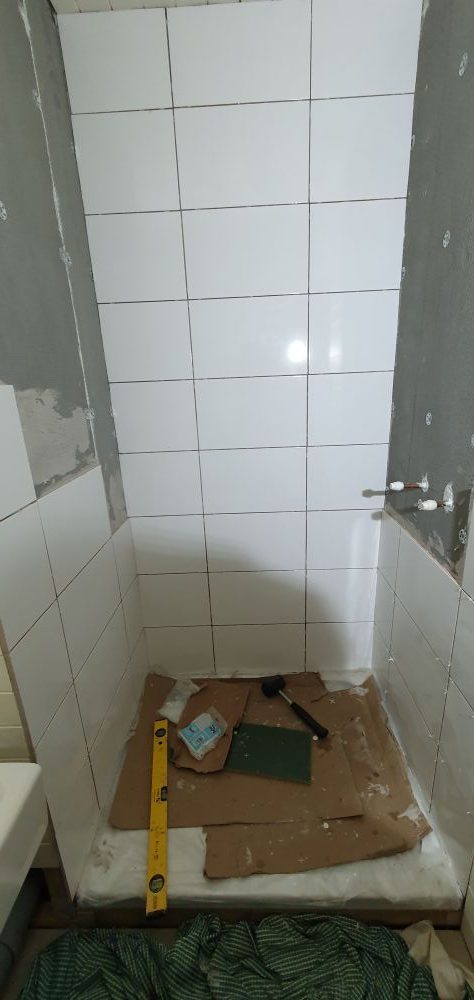
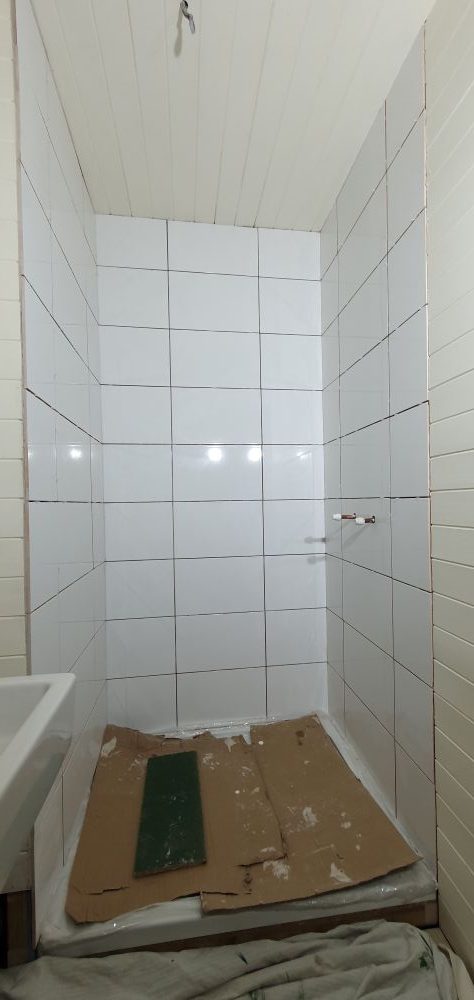
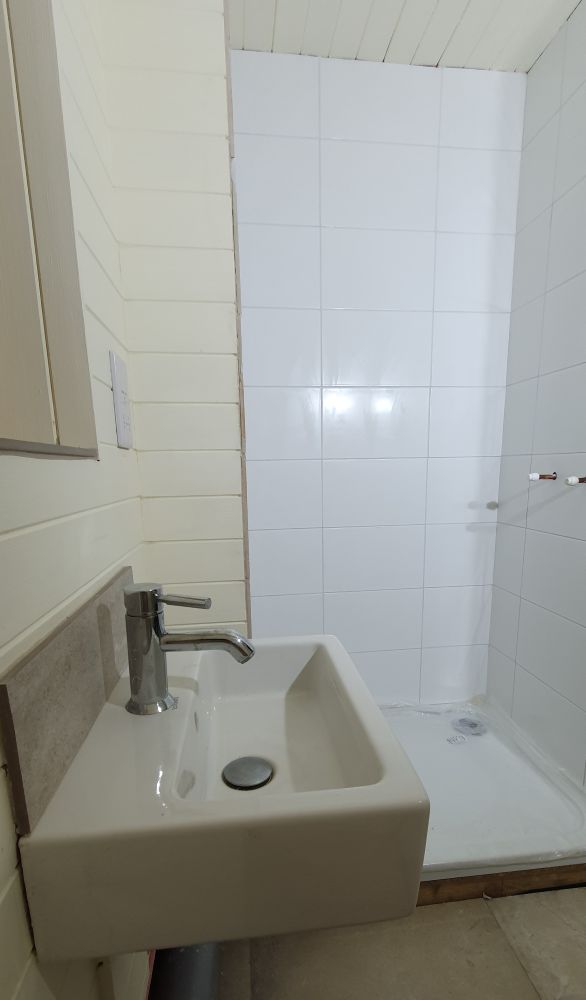
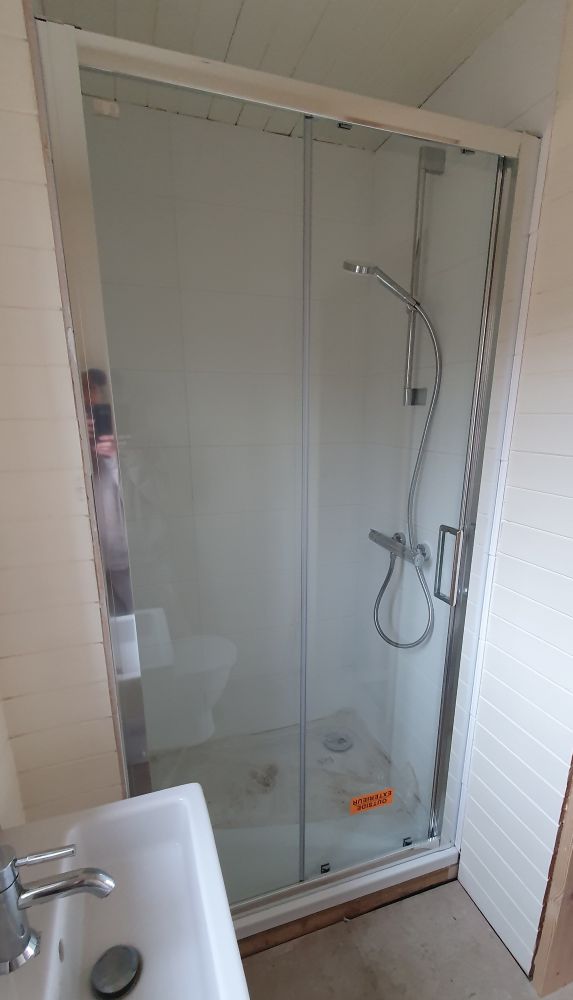
- tiled a shower – I deliberately chose a beginners size of tile as a first project: plain white, medium size, and relatively cheap (so if I broke too many tiles in the process, it wouldn’t be too costly). Again, I watched a lot of Youtube videos, as well as playing close attention to Graham the tiler when he came back to fit the large floor tiles in the garage. It wasn’t too hard, although as with all the jobs I’ve done which have involved cement or plastic based products, didn’t enjoy it that much. But it’s done, looks acceptable and meant that Nigel the plumber could come back and finish off the plumbing and fit the shower door.
- hung a door – I’d really dithered about this, wondering whether I should get David back to hang the only door in the garage. But I decided that as it wasn’t a fire door (so not as heavy as the house ones), I’d deliberately chosen a latch fitting rather than handle, and I’d done harder things than chiselling out the wood for the hinges, I would just do it myself and save the money. Again, one of those things that was definitely good not to be working to the clock, as took me a while, but it turned out well: fits square in the opening, and opens and closes fine.


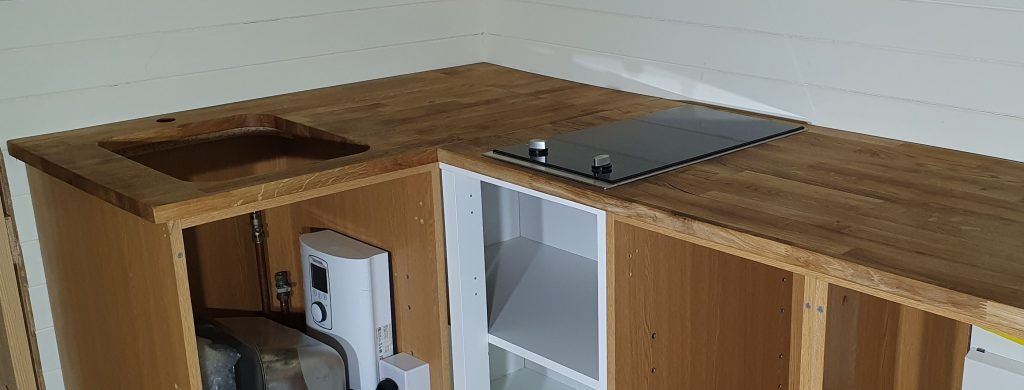
- cut and installed a wooden kitchen worktop – my neighbour Hilary had kindly passed on her old wooden worktop when she had her kitchen re-done. Seemed perfect to use in the small garage kitchen area. Took a bit of sanding down, some weighing down with heavy weights to get rid of the bowing that had happened due to my improper storage propped up against the garage wall for a few months (rather than flat) but then was definitely fit for the job. Was another task that I’d always thought I’d get someone else to do, but given how small the kitchen area in the garage is and the fact that I was using wood off-cuts, I decided to give it a go myself. Whilst the cut out for the induction hob was straightforward (as the cut edges would be hidden), with the sink having very rounded corners and being undermounted, the edges of the hole needed to look very tidy. So I brought this piece of the worktop back south with me in the car and a local worktop installer did the cut-out for me. Gave it all a few coats of Odie’s Oil, and it all looks pretty decent. I’ll finish it off with a wooden upstand once I’ve got round to sanding that down.
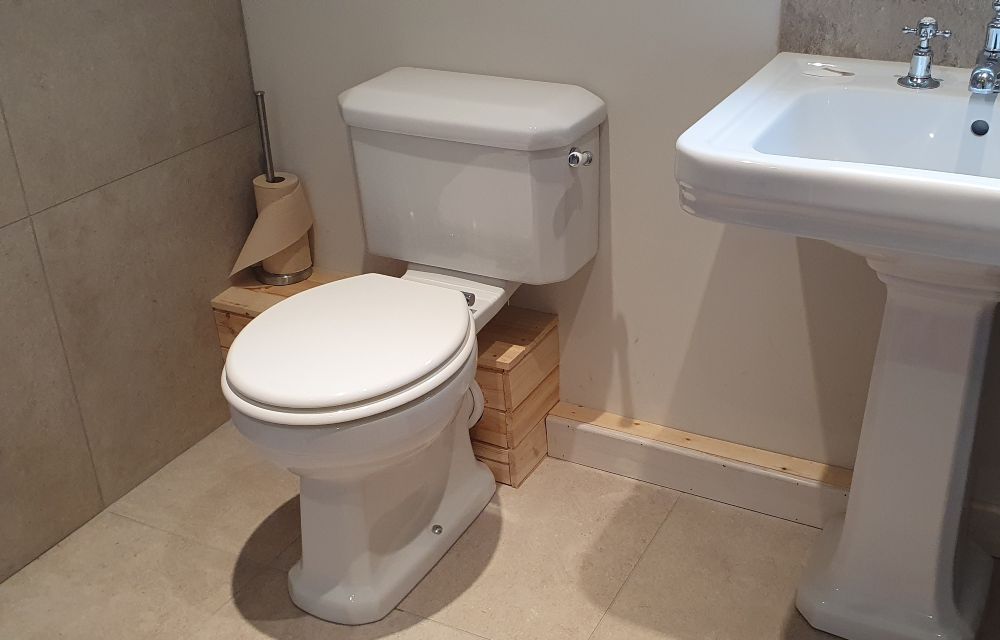
- boxed in bathroom pipework – I started to think about this in the house about 2 years ago, but never actually got round to doing it. The garage bathroom was a good place to do it first. Was again pretty straightforward but just took me a fair amount of time to cut the boards around the (very annoying!) curves of the toilet. Once I’d done the garage bathroom successful, I felt pretty confident doing the house bathrooms (including finally re-doing the bath front panel, which I’d made early on and had been annoying me ever since). Makes such a difference – and will be even better once I’ve painted the boards.


- wired a lot of sockets and lights – my electrician apprentice work continued, after Neil had let me loose with the reels of cable previously. He figured that sockets and some of the lights were pretty straightforward for me to do, and as long as I left them open for him to check, he was (generally) happy to let me get on with it.
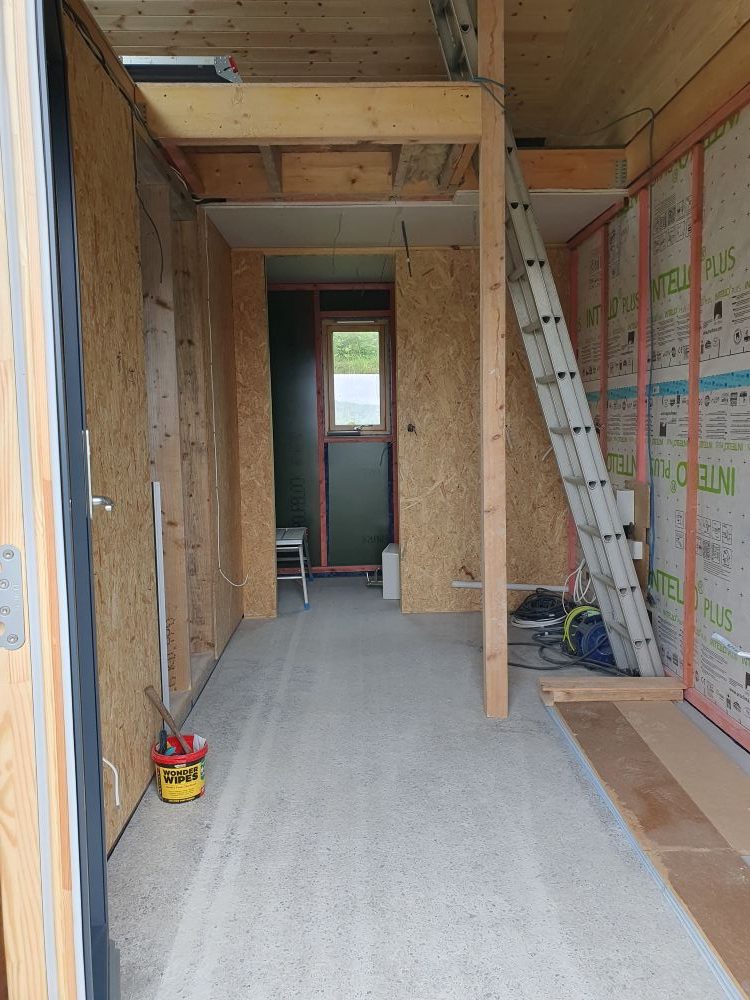
Prior to learning new stuff, there was also plenty of relatively uncomplicated repeat stuff. In the garage, the two main things were finishing off boarding out of the upper floor (with way too long spent squashed into the side triangular areas of the roof trusses, fitting in correctly sized and angled blue boards) and then finishing all the walls and ceiling – upstairs and down – with tongue and groove boarding, painted with the 2-coat Thermoguard fire resistant paint. Took a fair amount of time – especially dealing with the long boards for the ceiling by myself, manoeuvering them up the stairs after cutting – but was pretty satisfying when it was all done.