

Alongside the builders getting on with the roof, Steve and I started to prepare for the final outer layer of the walls. We’d decided that the external timber cladding was something that we could do ourselves (how hard can it be…??) – both because it would save a lot of money, but also we liked the idea of being fully responsible for one aspect of the house build.
First up, the membrane
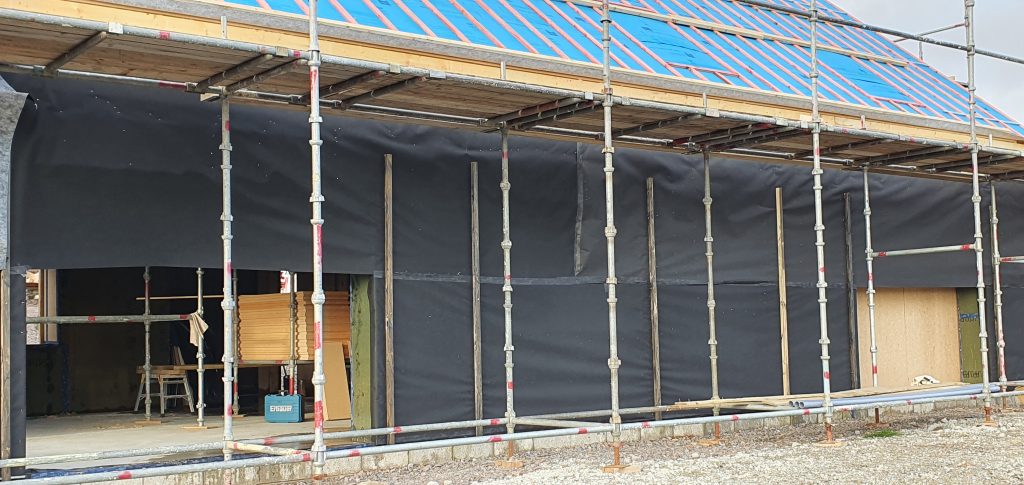
This was provided as part of the PH15 kit – Pro Clima Solitex Fronta Quattro, a solid black membrane specified as a windtight external breather membrane for walls where open jointed cladding is being used. It’s designed to be extremely robust, offering ‘maximum protection against driving rain, heat from the sun and UV. …fully windtight and breathable… allows a high degree of outward drying of the building, maximum aging resistance and excellent thermal stability.’ So there you go, hopefully will do the job!
Steve and I are both periodically slightly disconcerted thinking that this piece of fabric is our main barrier against water coming into the house – but of course that’s not actually the case. The membrane is working together with all the other individual materials in the house to provide a structurally sound, insulated and water tight building. Must remember that.
Putting the membrane onto the walls we left to the builders. Sounds a straightforward thing putting a membrane onto a wall – but trying to fix a 1.5 metre wide and very long piece of fabric in the wind isn’t totally straightforward! Generally, you could temporarily fix in place with a few staples until you get batons on. Our location meant that the ‘temporary fix’ was at best a few minutes, before the wind would catch a loose edge of the membrane, whip it away, and so you’d have to start the process all over again.
Next, the timber batons
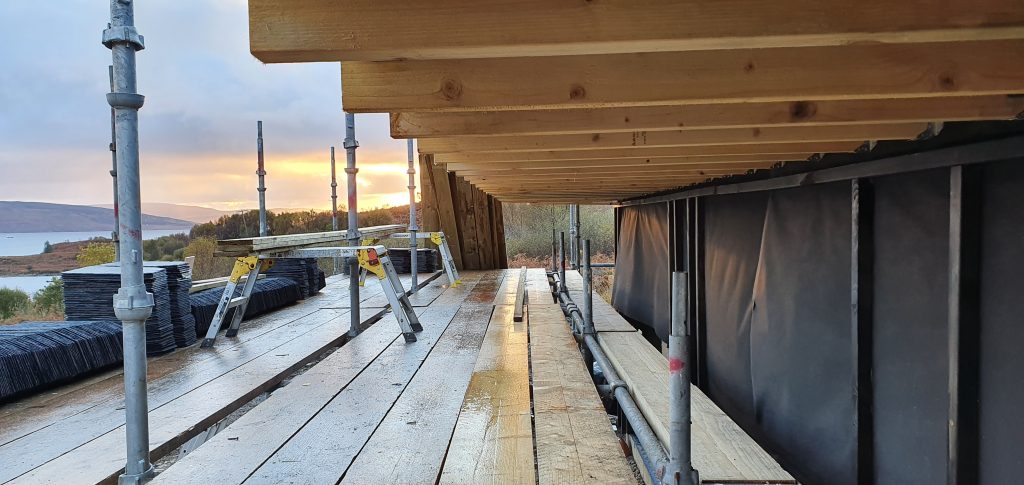
With the membrane secured by a few batons, over a 4-day weekend towards the end of October Steve and I set to work on filling in the (more than 100) gaps. Whilst there’s not anything particularly complex about fixing batons to a wall, there were a few things that meant it took a little bit of time and thought.
As we’re going to use a horizontal rainscreen – with gaps between the boards – the suggestion was that the batons should be painted black so that they are invisible through the cladding. With nearly 400 metres of 2×2 batons needed, I managed to find a couple of dry days prior to our weekend to make a good start with the painting.
The fixings for the batons had to go through the membrane, 80mm woodfibre and then into the 40mm i-joist. We found the i-joists two ways: by following the line of the woodfibre fixings (which generally you could feel through the membrane) and assume that these would align with the i-joist – which they mostly did – or alternatively going back to the PH15 plans, and measuring from the corners of the building. Have to admit, even 800 screws in, both Steve and I did an internal fist pump every time we felt the 150mm screw hit the i-joist as it made its way through the multiple layers!!
We got the majority of the batons fixed over the 4 days, so the membrane wasn’t going anywhere. Then over the following weeks, once the windows were in, and roof overhangs completed, I filled in the various gaps, and worked out what we’d need to fix the finishes around the windows and corners.
Finally, rodent mesh
Probably because it coincided with the first visit of mice to the caravan, rodents were very much top of mind while we were doing the batons. One of the key reasons to have batons in the first place is to provide a ventilation gap for the cladding. But this in turn could provide rodents with a good place to get into the building. I did talk to STEICO, the wood fibre manufacturers about this, and they were reasonably reassuring that mice (and other rodents) don’t tend to chew through wood fibre as it has no calorific value. Given we have 80mm of wood fibre, and then will have a further 360mm of blown-in cellulose insulation, then the vapour block Durelis board before finally getting to the internal plasterboard layer, anything trying to get in has a fair amount of tunnelling to do through materials with no calorific value, so hopefully this will be reasonably good deterrant. But then again, we’ve all seen the Great Escape…!
We considered installing insect mesh over any open gaps between batons and boards – eg at the bottom of the vertical batons – but the advice from Russwood, who supplied our cladding, was that with an open rainscreen, it isn’t such an appealing place for insects to congregate. I guess we’ll find out if that’s true! But for now we focused on preventing mice, and for that the guidance is that there should be no gaps wider than a pencil.
I spent a couple of days on site becoming an expert rodent mesh installer. Not an especially tricky job, but also not one I’d be rushing to do again. 30cm wide metal mesh (with nasty raw edges), tucked behind the batons at the bottom, and then folded back up the front face of the baton.
I’m hoping that this is like decorating – takes an age to do all the prep work, but once that’s been done properly, the actual cladding itself will be a doddle. Will let you know if that theory worked after our post Christmas week.
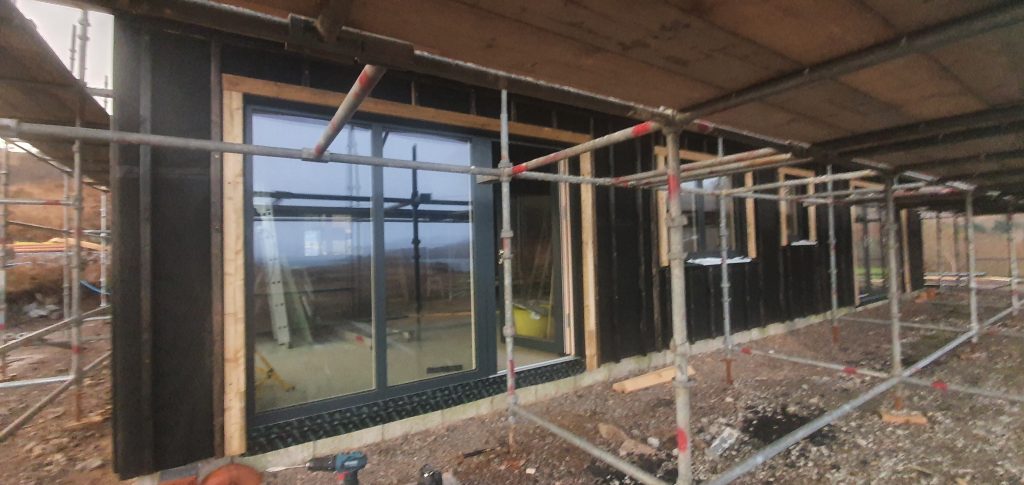
window batons before painting 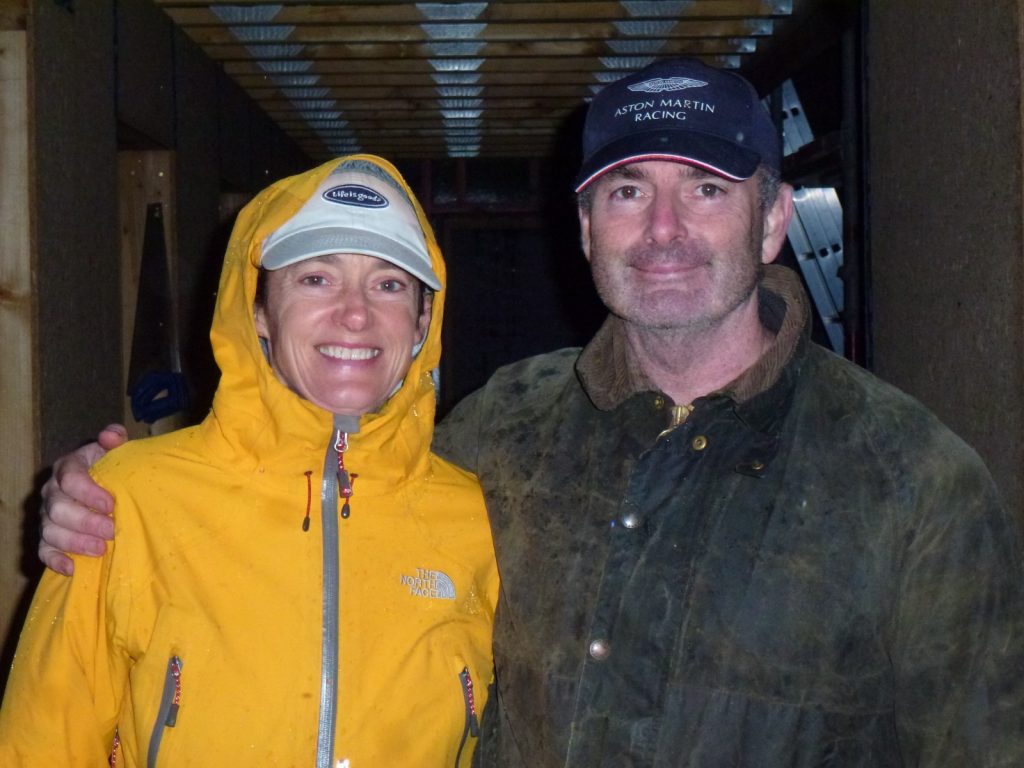
still smiling – after a day of wet baton fixing! 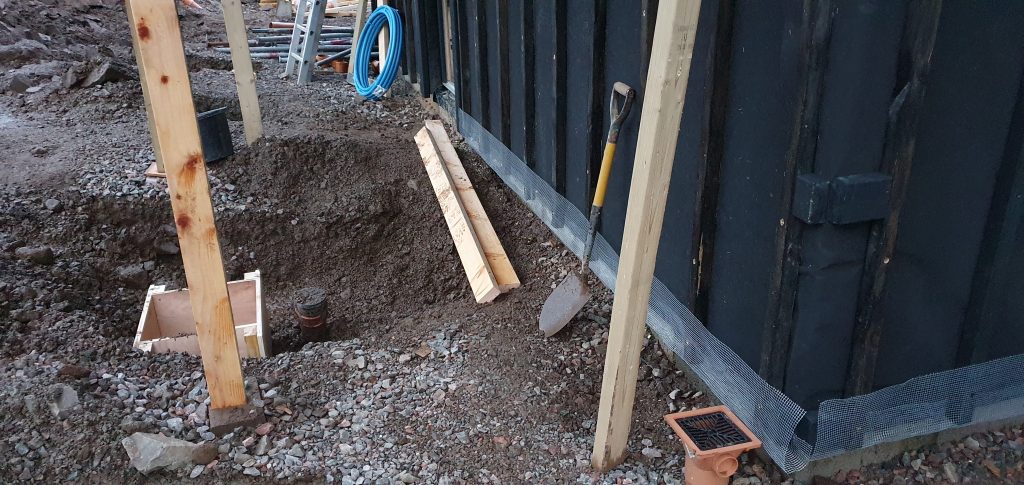
rodent mesh