

airtightness testing
Back in July last year, we had our first airtightness test – you can read all about it, and everything around the Passivhaus requirements in my blog at the time here. Since then, while airtightness hasn’t exactly dominated life, it’s been an ever-present thing – there’s always been another bit of taping to be done, a corner of a window to check, to make sure every tiny gap is blocked up.
Finally the date came at the end of August when our second airtightness test was done. Paul Jennings, who had done the first airtightness test, decided that his one trip up to Ardnamurchan last year from Devon, entirely by public transport, was enough for him! (To be fair, it was as much about how he could fit the test combined with the 2 days of travel into his schedule). Another company were tracked down, with much less experience than Paul, but had done lots of recent qualifications, purchased plenty of high tech kit and – significantly for us – were looking to focus much more on Passivhaus-standard of houses, and so were keen to accommodate us.
I didn’t really have great expectations about getting a low enough score to achieve full Passivhaus. I’d been told that scores usually tended to get worse for the 2nd test, partly because the internal volume of the house actually shrinks a bit due to plasterboard/plaster going on. In our case too, there was some question about the volume data that Paul had used, as it seemed on the high side (which again, would make our result better than it was). So when the score came back of about 0.75 – good enough to be classified as a ‘Low Energy Passivhaus’ rather than ‘Classic Passivhaus’, which needed 0.6 – I was fairly resigned. Obviously not exactly happy, but knew that there wasn’t too much else that I could have done, especially when the tester went round each of the rooms and did smoke tests to see where the gaps were and couldn’t see any air movement.
A couple of weeks after the test though, we heard back from the tester that he’d like to come back and re-do it. The wind had been pretty strong the day that he’d done the initial test, and so there had been a bit of variation in results, which he wasn’t totally happy with. Also because of the temperature at that time, he couldn’t use his thermal imaging camera to detect any gaps, plus he now had some sort of additional equipment which could help with dampening the effect of the wind, to get more accurate results. As this was a freebie, I said why not (although really didn’t have any expectation) and the date was set for my trip up at the start of October.
This time he came up with another colleague, and together they did a pretty thorough job. Using the camera, we identified a couple of windows that could benefit from a bit of additional sealing, and we’d also installed the correct drain on the MVHR unit, which we hadn’t spotted had been left unsealed previously. And the result: an extremely unexpectedly low 0.55! Sufficiently low to get us full Passivhaus certification.
MVHR commissioning – and broken electric skylights
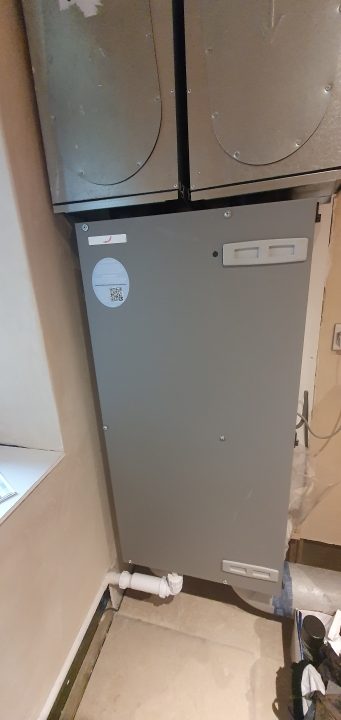
The days of pulling duct piping through very small spaces, and drilling the very large holes through the front wall for the large polystyrene ducts seems a very long time ago (back in May 2022). But it was now finally time for the MVHR* unit to be turned on. (*Mechanical Ventilation with Heat Recovery)
It’s slightly more than just ‘turning it on’ though. There are two key parts of an MVHR system: the design and the commissioning. I’d done the relatively unskilled installation part in the middle! The airflow through each of the ducts needs to be balanced across the whole system – in our case across the 10 ducts, 5 of which bring in fresh air, and 5 of which extract stale air, stripping that air of heat before it’s expelled out of the house. Jae Cotterell, architect/Director at Passivhaus Homes made the trip up to us, with partner Chris, to do the commissioning.
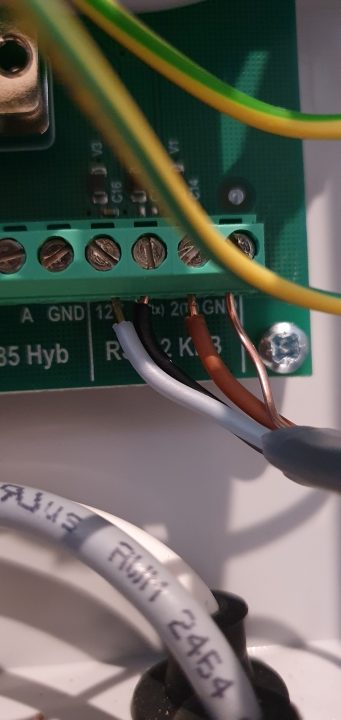
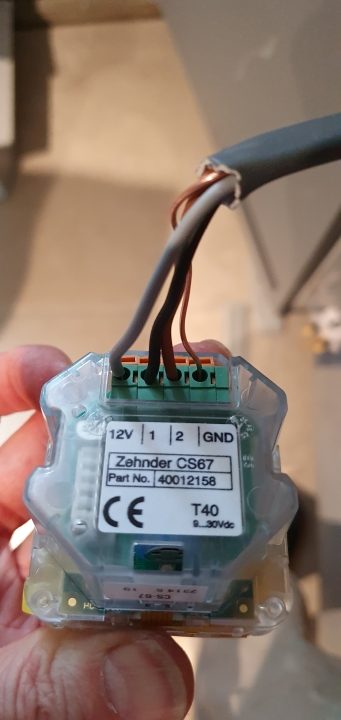
There was a slight moment of panic a couple of days before when Jae checked in regarding the MVHR control unit. It had arrived in a box, and I’d just assumed it was some sort of remote control. It was only when I opened the box I realised it was something that needed to be wired in. Fortunately it only had to be wired in to the MVHR unit, so after a slightly panicked call by me to Neil, our electrician, it was clear that it was something that I could do myself – I just needed to drill out a hole in the plasterboard where the unit would be mounted, feed some wire down behind the wall from the control unit and through a hole I’d drilled in the bottom batten, and then round the wall to the MVHR unit itself, and then connect each end up to the appropriate ports. None of it especially difficult, but it of course still took me a long time – stripping wires, feeding wires down the wall and through the hole at the bottom (only took about 20 attempts) and then fixing it all up. The important thing was that it all worked in the end and the control unit is nice and straight in its mount!
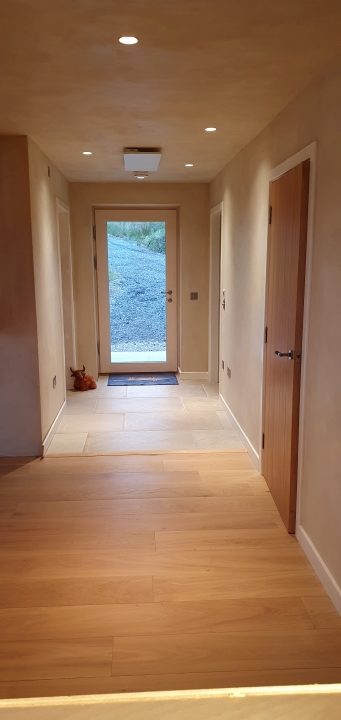
Jae and Chris arrived just as I’d finished swearing very loud and long about our high sitting room skylights (the ones marked with purple arrows below). As one of the ducts was high up in the sitting room ceiling, we’d had to rebuild the scaffolding tower so we could reach it. I thought I’d take the opportunity to programme the remote controls for the skylights, whilst the tower was up, and getting the windows working properly. When I did this, unfortunately the windows just wanted to open and not re-close. Quite a big deal – both because of the inconvenience of the window position (having a 4+ metre scaffolding tower as decoration in our sitting room isn’t ideal) and also because having permanently open skylights in our location really isn’t an option!
Fortunately I had a number for technical help for the window company (as we had another issue previously), and we talked through what I could do – after together satisfying ourselves that i hadn’t just done something stupid and there was nothing wrong except my programming skills. So the result was that I took the motors apart and wound in the large chain that usually opens and closes the windows, and then manually closed the skylights.

The most frustrating thing was that we then had to wait for replacement motors to be sent, and so the scaffolding would have to be a central feature in the house for a little while yet.
Commissioning of the MVHR was all very straightforward – slightly fiddly for Jae to get the balance just right, but it was sorted. Whilst we’d been told that the unit would be quiet, until it was turned on, we’d always been slightly dubious. But it really is extremely quiet. With only two of us in the house, we only need to have the system on a low fan setting, and you can’t hear it at all unless you’re in the utility room. And even then it’s a very quiet fan noise. If we have visitors, we can turn it up to the standard setting and whilst it gets slightly noisier, if you close the utility room door, you again can’t hear it. It also uses only a very small amount of electricity to run.
The heat recovery part will come more into its own in the winter months, but the joy of those first few weeks of use – when the temperature in the house was naturally still warm – was that no longer did we have rattling windows and doors at night, when we had to have the windows open for fresh air. And something I hadn’t appreciated was the benefits when there are midges around – you again still have fresh air in the house, but without the risk of early morning midges coming through open windows.
The extraction ducts in the kitchen (where there’s a double duct) and each of the bathrooms mean that the air stays fresh, with steam and smells removed. The fresh air ducts in the bedroom definitely help with great air for sleeping, and there’s one of each duct in the sitting room ceiling. So far, am extremely happy with it.
