Felt I’d reached a major milestone when for my first trip up in January I only had a couple of paint brushes and tubes of caulk in my car boot, rather than the usual contents of slightly more industrial tools and materials.
One year on from our full-on post Christmas 2022 cladding session, the 2023 edition was slightly more relaxed. Over the 5 days Steve and I were up there over new year, we managed to finish off the ceiling boarding, started off the remaining velux window internal linings, and we also did another couple of surrounds for the external windows. Most relaxing time we’ve spent up there for a while!
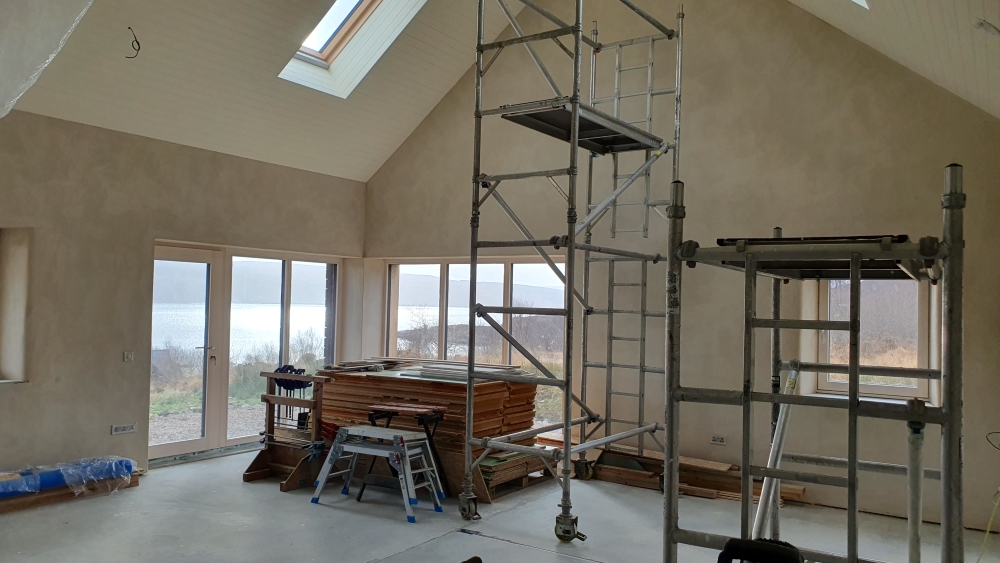
My January trip was back to normal pace. Managed to finish off the more fiddly bits of the wood on the ceilings and around the windows. I was overall pretty happy with how they turned out – pretty much matched the ones that Charlie had done (even if they took me about 10 times as long!). And then it was on to painting.
Shades of Cream
The fire-resistant Thermoguard paint we had to use on the ceiling comes in a fairly restrictive number of shades. No pondering for hours over a Farrow & Ball paint chart for this one, although instead there’s a list of RAL and British Standard colours you can choose from. Whilst Brewers did have a RAL colour chart, the same didn’t exist for British Standard colours. Given that our ceiling area is pretty big, that it joins with the lime-plastered walls, and that the Thermoguard paint is extremely expensive, I decided it was better to be safe than sorry and ended up with quite a few different sample pots of the ‘cream shades’ that existed on the British Standard colour chart – with the only reference I had being an online version, where let’s just say the differences between the colours weren’t obvious. Choice made (fairly unimaginative ‘Ivory’), paint ordered and we were ready to go.
I decided to start the painting with the easiest ceiling in the 2nd bedroom upstairs. I spent pretty much the full day staring way too intently at the cream coloured paint as it went on, thinking it was much more yellow than I had thought it would be. I just hoped that it would dry better and perhaps it was only looking a bit strange because I was too close to it. I carried on with the same pot on our bedroom ceiling, and that ‘this isn’t a great colour’ feeling intensified. Aside from being a bit too yellow, it also seemed a bit too dark and didn’t tone as well as I’d hoped with the natural plaster colour.
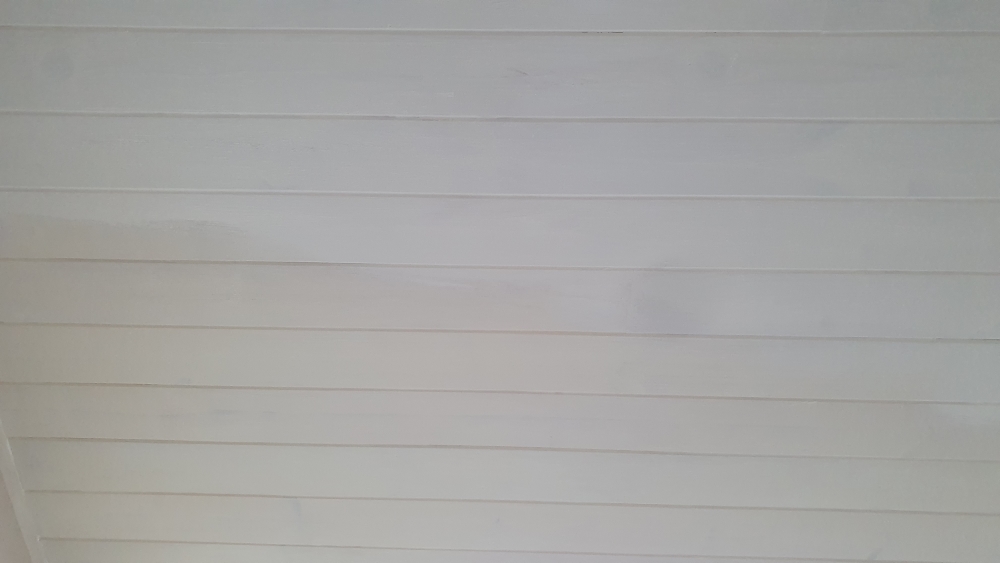
I’d used up the 5 litre pot of paint just as I got to first coat on the mezzanine boards. Then I opened the second pot – a bigger 10 litre container. Slightly astounded to see that it was an entirely different colour to the first pot. But it was also a huge relief, as it was lighter, less yellow and toned very well with the plaster, ie like my sample pot! Of course different pots of paints that have been specially mixed can have slight differences, but given the cost of these paints (around £120 for a 5 litre tin) and that I’d ordered a standard colour and direct from Thermoguard, don’t think it’s unreasonable to expect that colours should be checked against the British Standard chart. Fortunately Thermoguard did agree, and a replacement 5 litre tin was sent out. (Not sure if colours will show properly in pic below – correct colour is at top, first darker, much yellower paint is on the lower planks).
Painting the big ceiling with the much nicer shade felt much better. Had that standard feeling whenever I paint: when I first start off, I always think how easy and quick it is to paint an area, but doesn’t take long for that novelty to wear off! Got the full first coat done on my first trip. Then armed with new tin sent by Thermoguard, managed to get it all finished second trip up a couple of weeks later. Has made a big difference to how the house looks.